Suppose you have a Keycloak instance that was configured manually. But how to properly manage changes? Validate that all configuration was properly deployed through all environments? You could rely on manual, visual comparisons of the UI, but there’s a better way. It’s possible to switch from manual “ClickOps” to an automated “GitOps” workflow in a straightforward manner.
In this article, I’ll demonstrate a working example of the infrastructure needed to establish a GitOps workflow for Keycloak. To begin, let’s set up the basic Keycloak infrastructure using the following Compose file.
version: '3.8'

services:
  postgres:
    image: postgres:17.5
    container_name: postgres
    environment:
      POSTGRES_DB: keycloak
      POSTGRES_USER: keycloak
      POSTGRES_PASSWORD: password
    restart: always

  keycloak:
    image: quay.io/keycloak/keycloak:26.3
    environment:
      # --- Database Configuration ---
      - KC_DB=postgres
      - KC_DB_URL_HOST=postgres
      - KC_DB_URL_DATABASE=keycloak
      - KC_DB_USERNAME=keycloak
      - KC_DB_PASSWORD=password
      - KC_DB_SCHEMA=public

      # --- Administrator Credentials ---
      - KC_BOOTSTRAP_ADMIN_PASSWORD=admin
      - KC_BOOTSTRAP_ADMIN_USERNAME=admin

      # --- Proxy and Hostname Configuration ---
      - KC_FEATURES=hostname:v2
      - KC_HOSTNAME=http://localhost:8080
      - KC_HOSTNAME_STRICT=false
      - KC_HTTP_ENABLED=true

    ports:
      - "8080:8080"
    command: start
    depends_on:
      - postgres

    restart: always
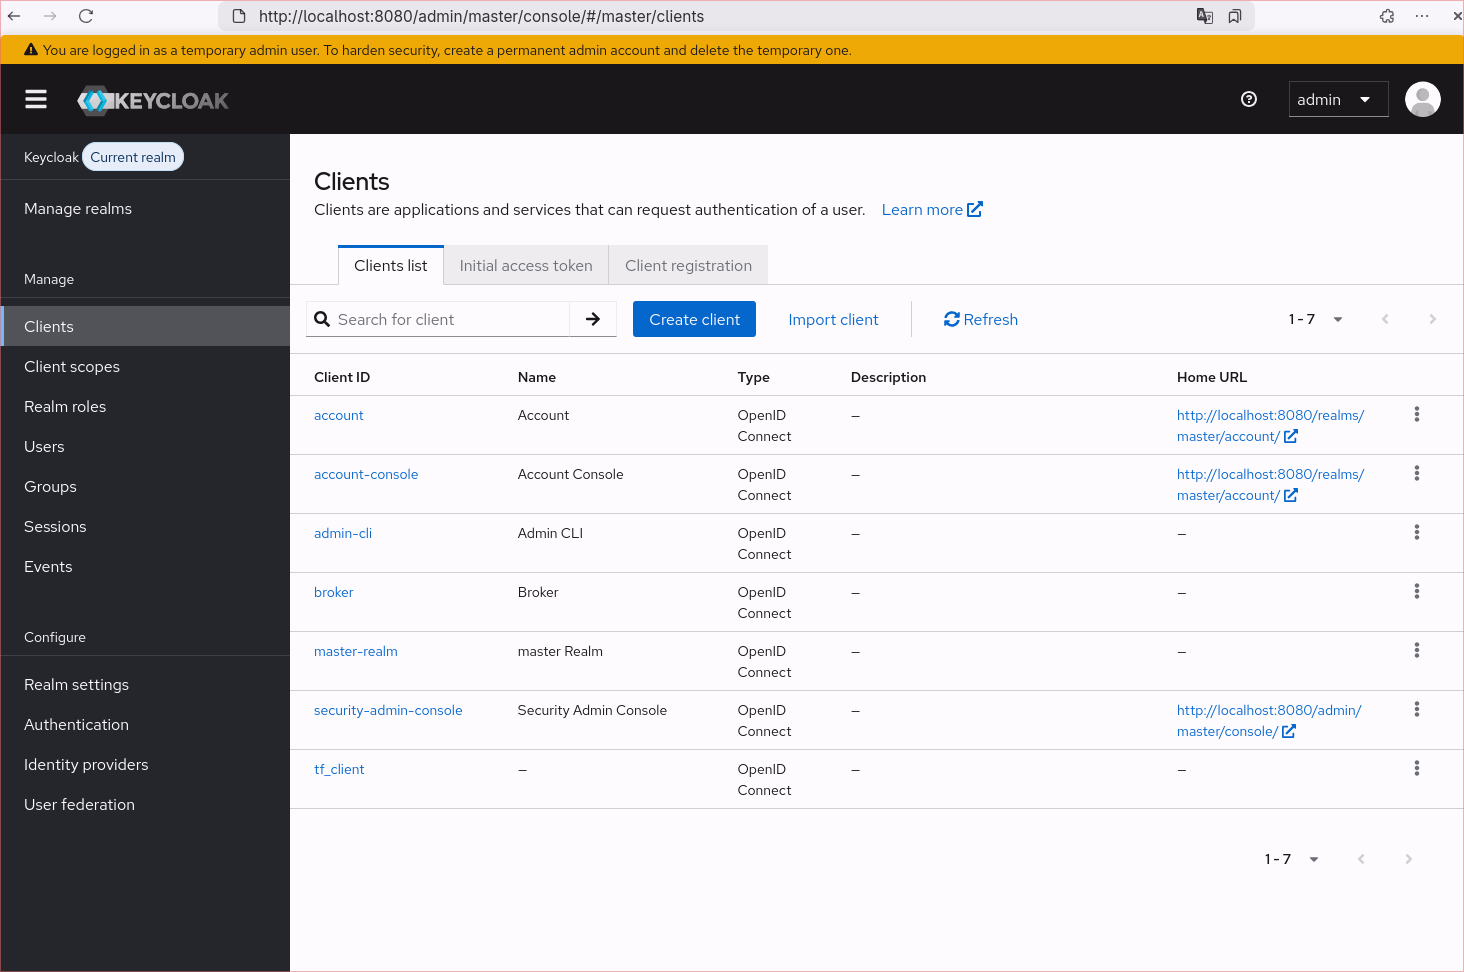
Next, we need to create a dedicated client within Keycloak that Terraform will use for authentication and configuration.
- Master realm -> Clients -> Create client
- Fill client name (
tf_clientin my case)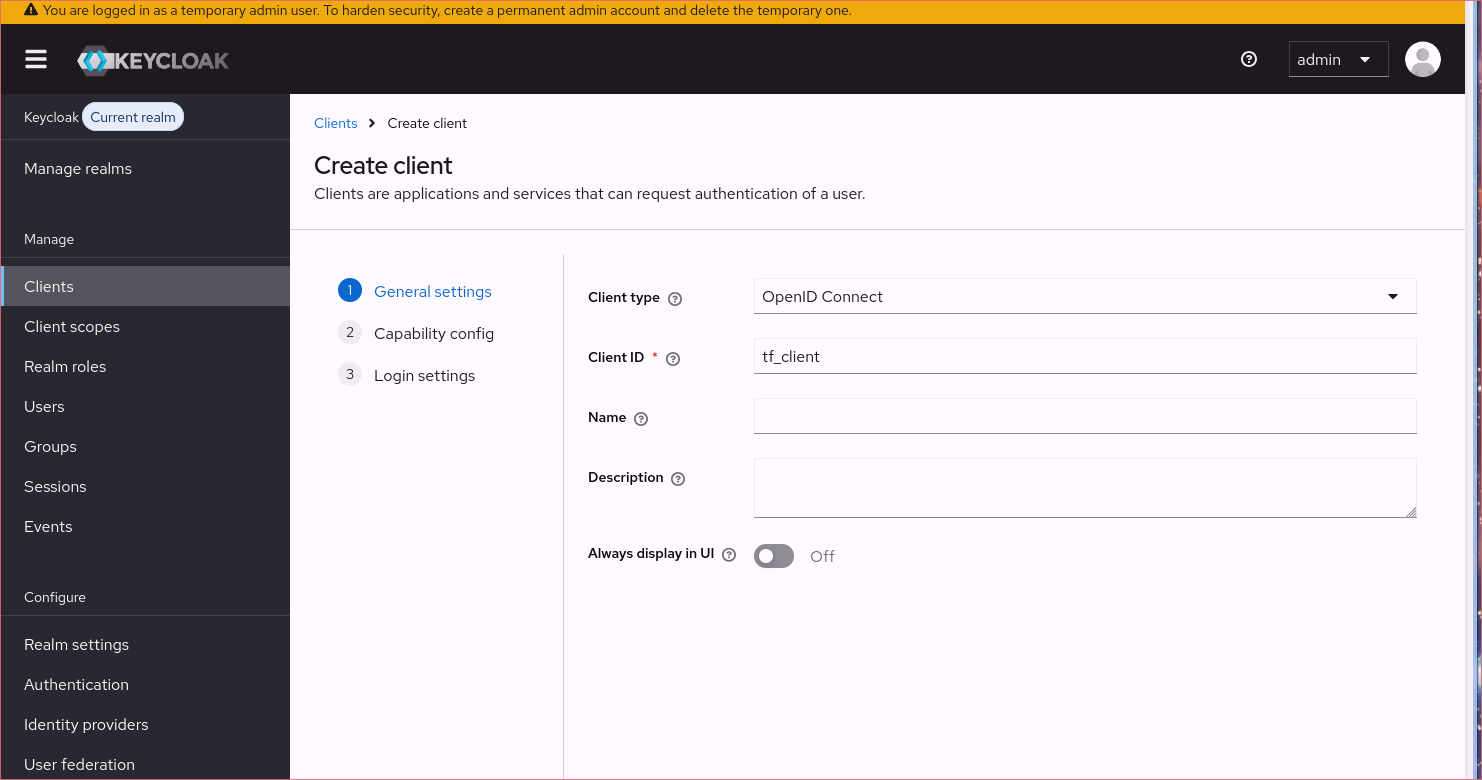
- Go to “Capability config”
- Turn on client authentication and remove all authentication flows . Enable creation of
service account roles.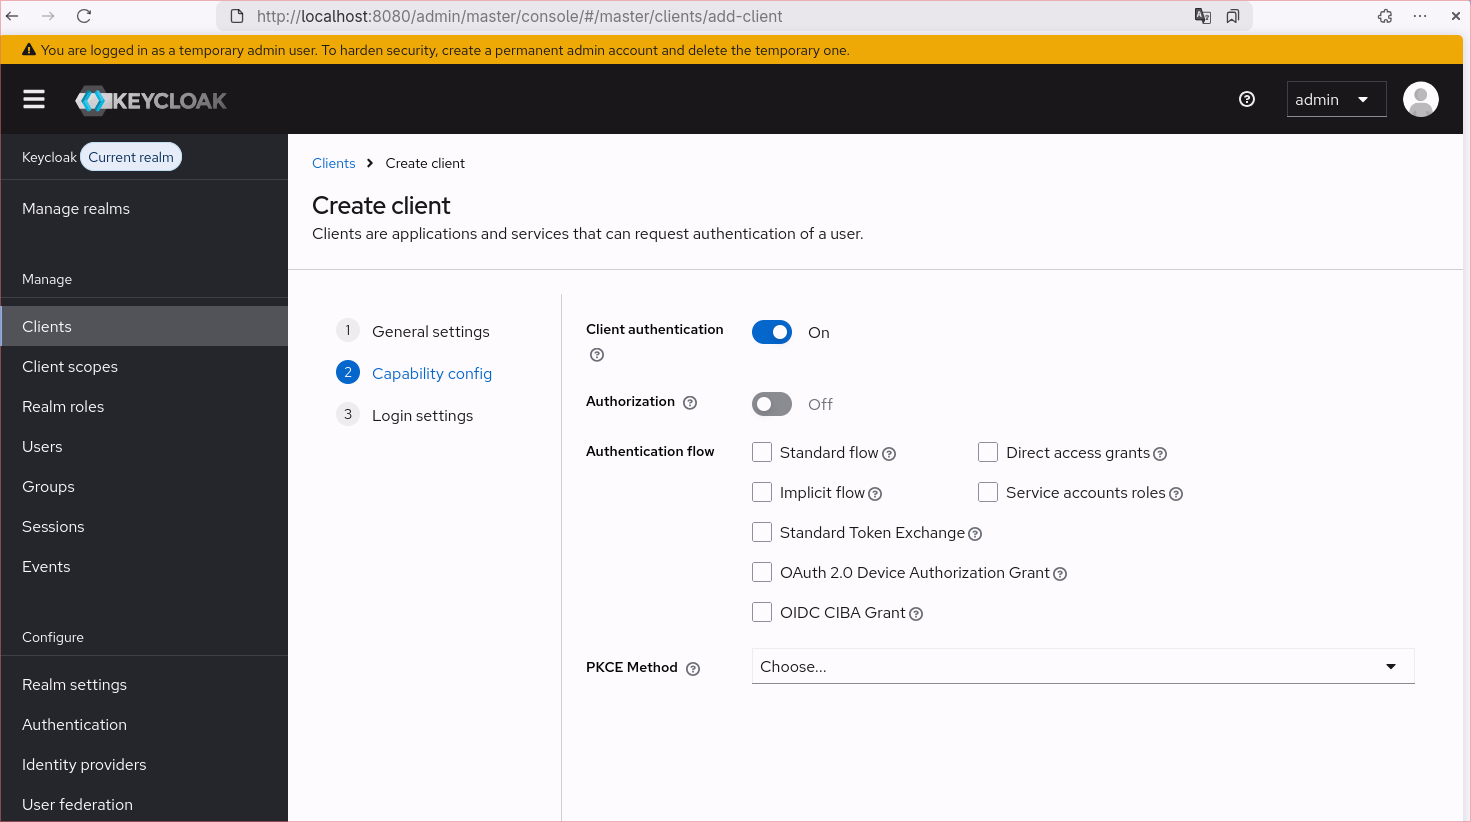
- Save
- Go to
Service account rolestab and assign role -> Realm role.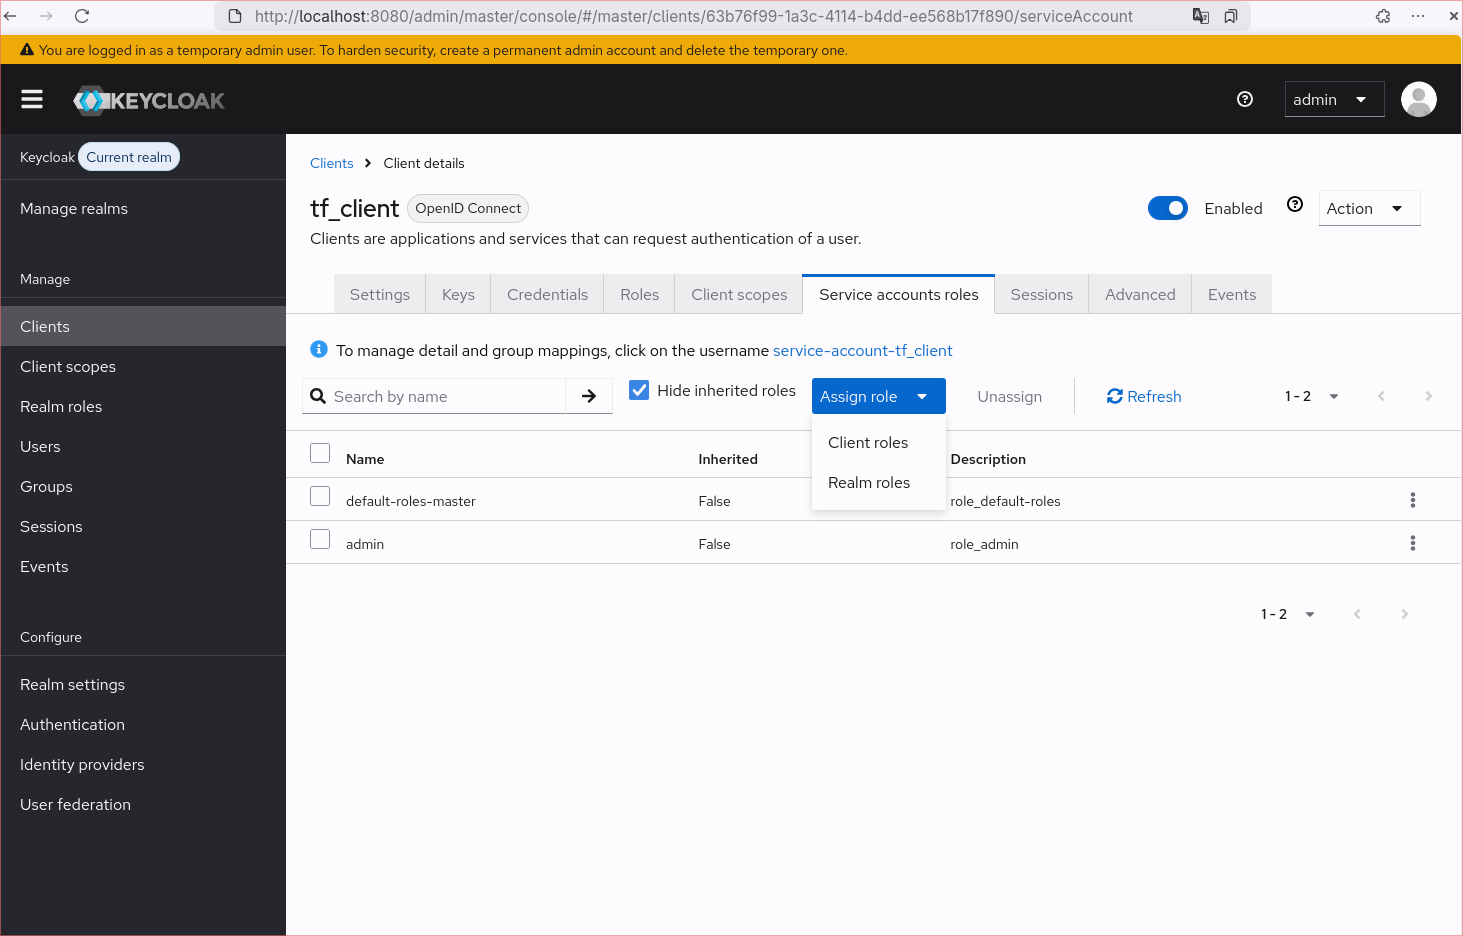
- Choose ‘admin’. (In production you have to reduce it according to your needs).
- Go to
Credentialand copy Client Secret
Now, let’s create our initial main.tf file with the keycloak provider definition:
terraform {
  required_providers {
    keycloak = {
      source = "keycloak/keycloak"
      version = "5.4.0"
    }
  }
}
To interact with Keycloak, we must provide credentials to Terraform.
For testing purposes, we can hardcode them.
However, for production, consider using environment variables through the standard convention
(TF_VAR_name maps to the name variable). More details can be found in the Terraform documentation.
provider "keycloak" {
  client_id     = "tf_client"
  client_secret = "<your secret from step 8.>"
  url           = "http://localhost:8080"
}
Let’s add a new realm called “RealmX” for our applications.
resource "realm_x" "backend" {
  realm                       = "Realm X"
  default_signature_algorithm = "RS256"
  display_name                = "Your Application Realm"
  enabled                     = true
}
And run in our shell:
tofu init
tofu plan
You are now ready to move your Keycloak configuration into a Terraform codebase. If you’re wondering why the commands use tofu even though this post refers to Terraform, it’s because I’m using OpenTofu, a community-driven fork. You can read more about it here.
As you can see, the initial setup is straightforward. To get a production-ready setup managed via GitOps, you will need to invest some time migrating your existing configuration into Terraform state.
For more complex configurations, consult the official Keycloak Provider documentation. It provides comprehensive definitions and covers all necessary configuration components. Happy coding!